Step 1
Step 2
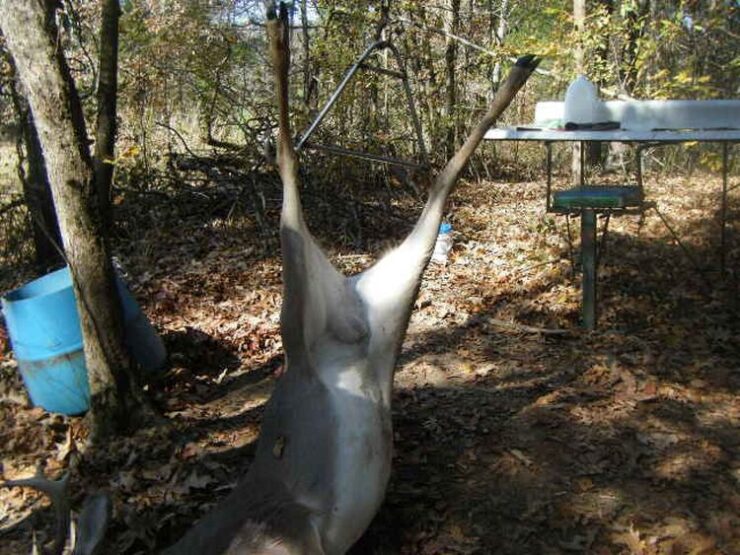
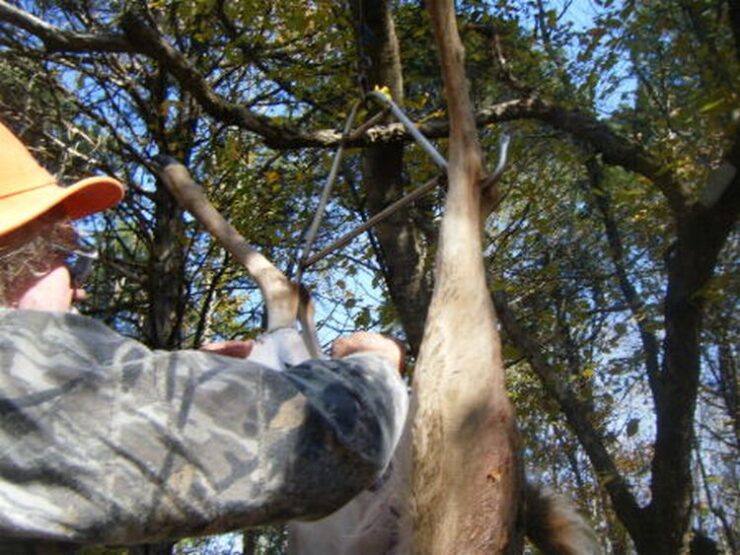
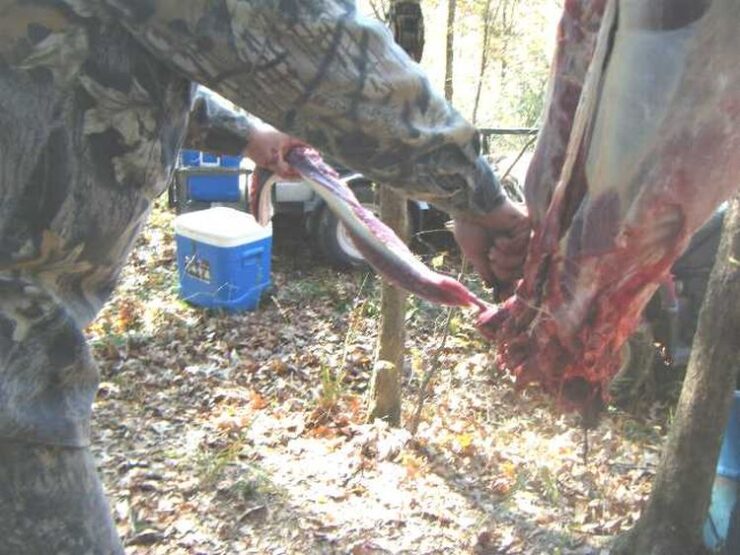
Hang the deer from by its rear legs on a gambrel. Pull or crank it up to get it off the ground.
Step 3
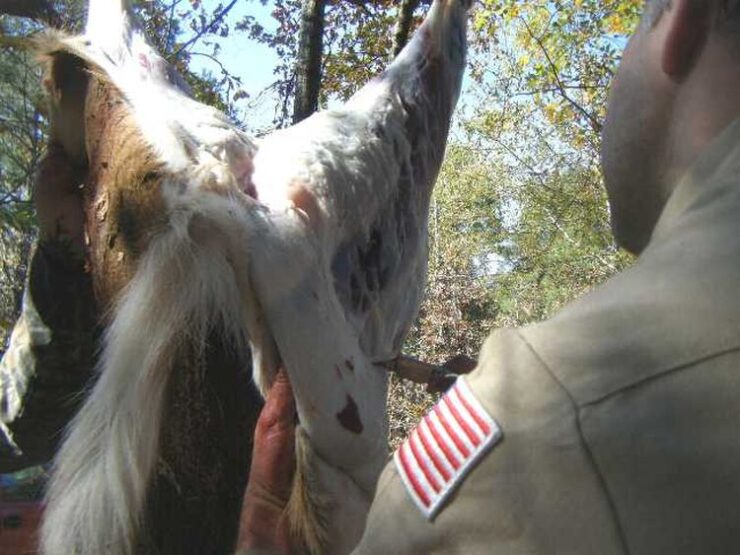
If it is a buck and you want to save the head, first cut a circle around the neck.
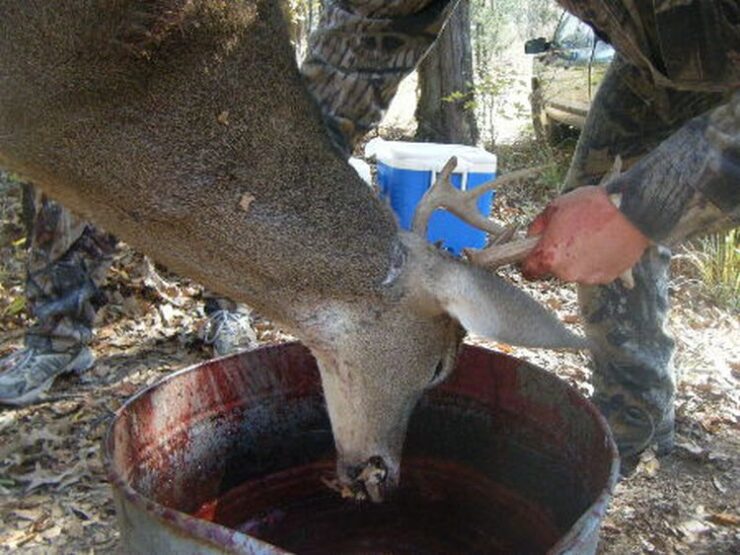
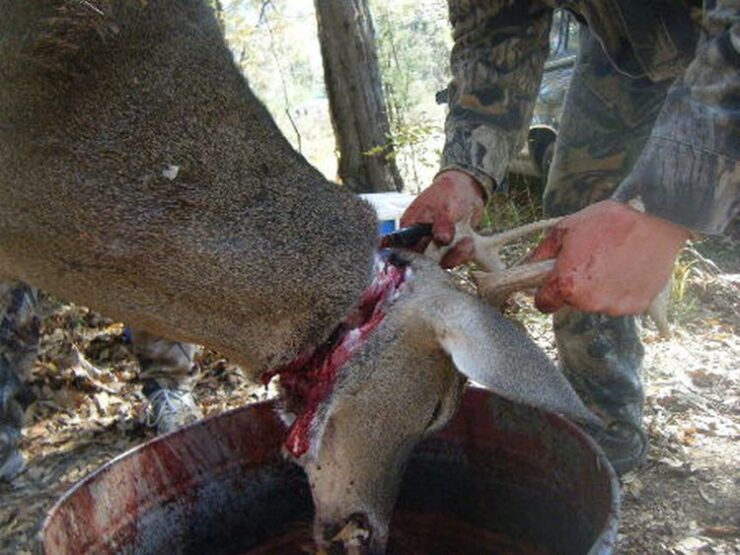
Cut all the way to the bone all the way around. Then you can cut the head free with only a knife by pushing the point of the knife blade into the joint at the base of the skull. It will take a litte practice to find the right spot but practice makes perfect. Just shove and twist the knife until you find the right spot.
Or you can take a saw and make two cuts to remove the antlers. One cut behind the antlers angling forward towards the eye socket and another in front of the antlers angling down towards the eye socket. When they meet you will have the antlers and the top part of the skull to hold them together.
Step 4
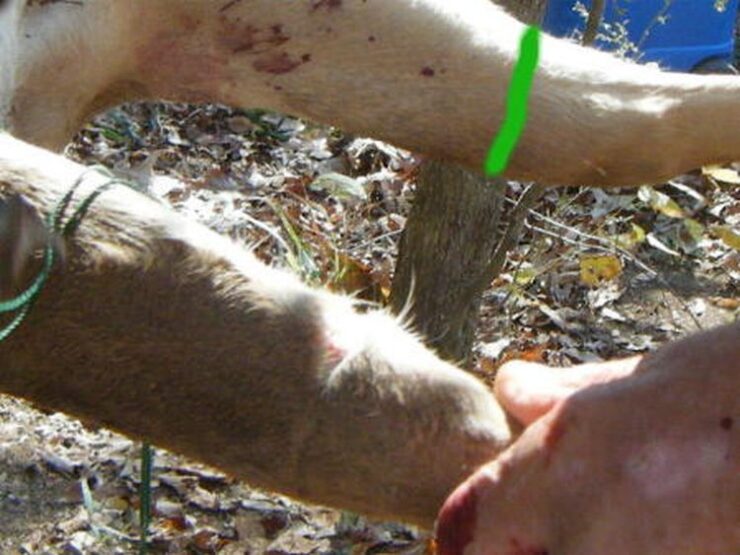
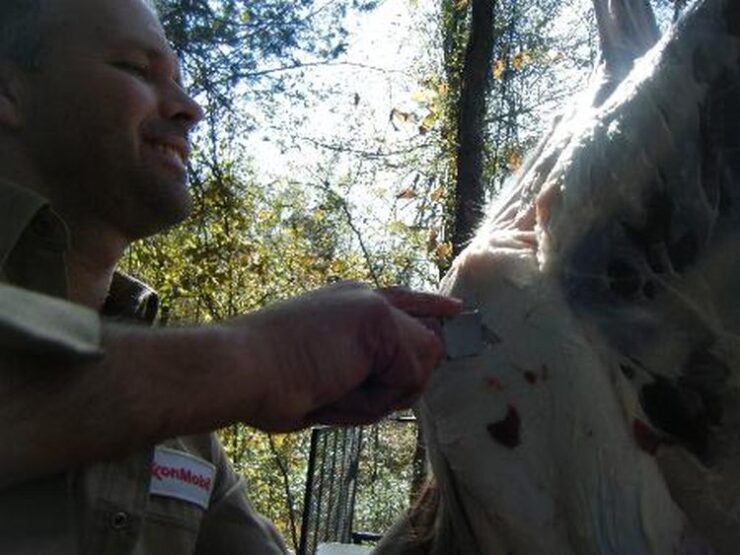
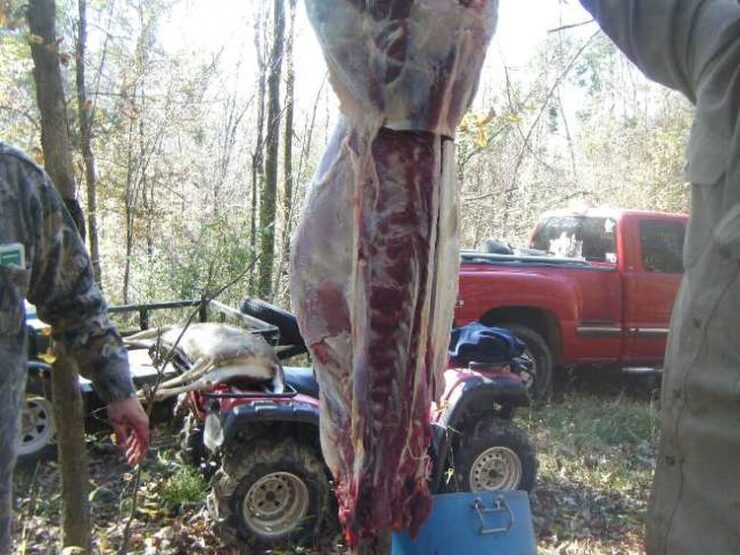
With the deer hanging, cut through the skin around all four legs as shown below.
I marked one leg with green where the front legs skin should be cut, the other side is partially cut but might be hard to see.
Step 5
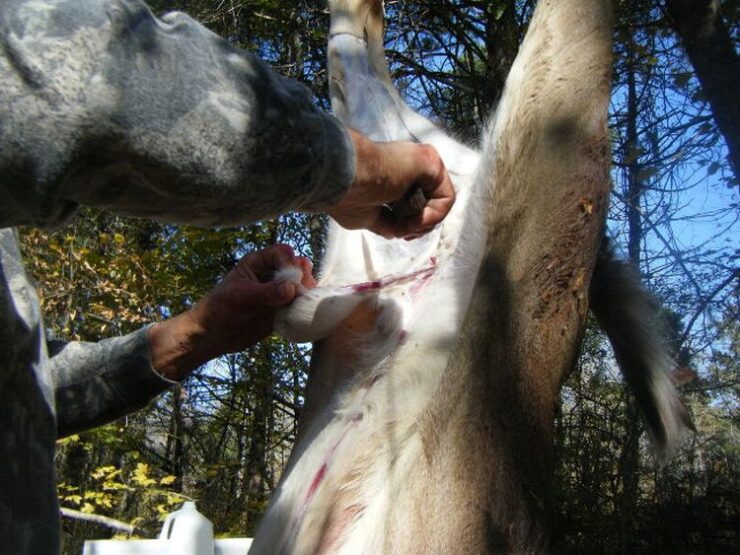
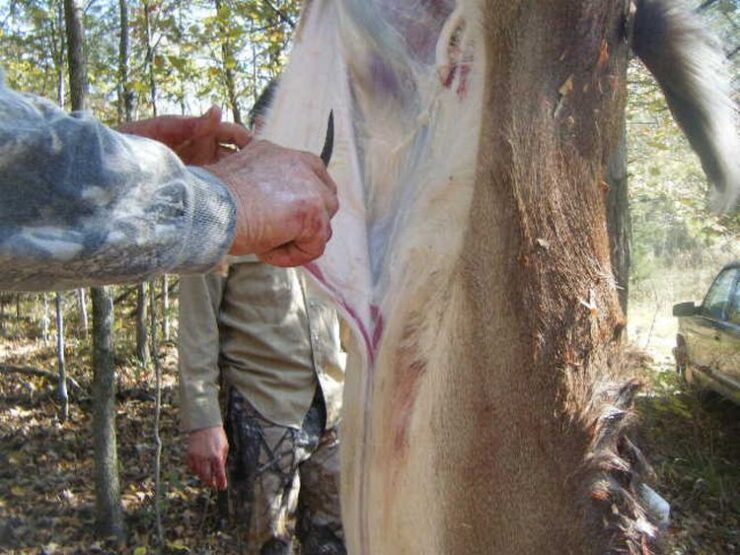
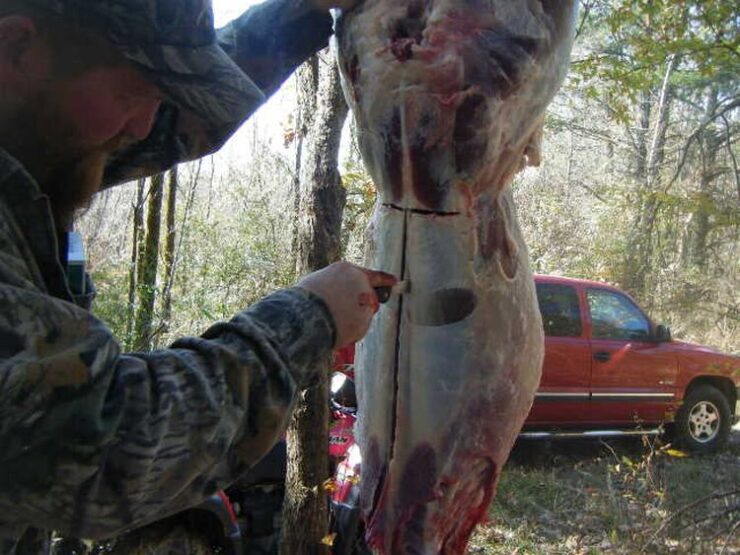
Take the hook bladed razor knife if you have it and cut the inside of the hind legs downward. Do this on each hind leg and the cuts should meet on the belly of the deer. Then make a cut on inside of each front leg towards the chest.
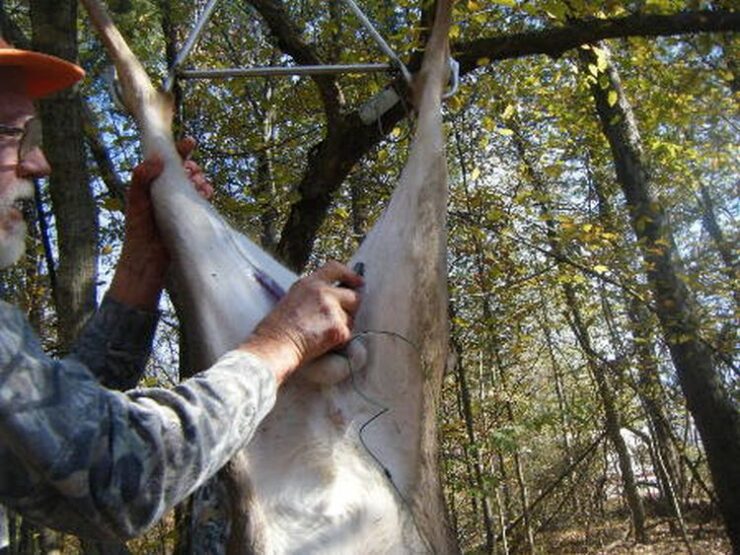

Where the two rear leg cuts meet continue down the belly all the way down across the sternum as shown above right.
Step 6
Remove the genitalia from a buck or the milk sac if it is a doe.
Step 7
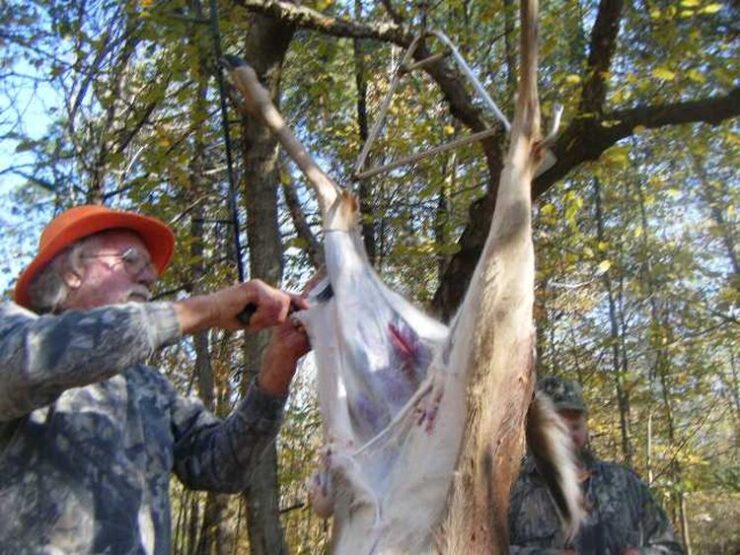
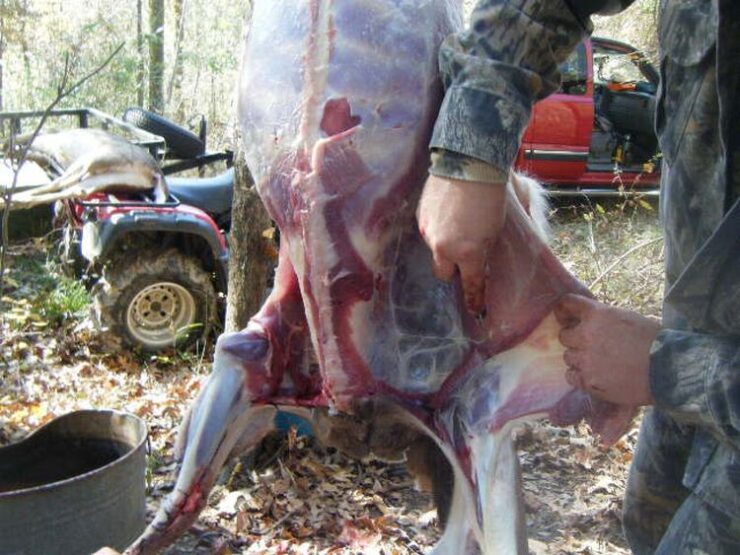
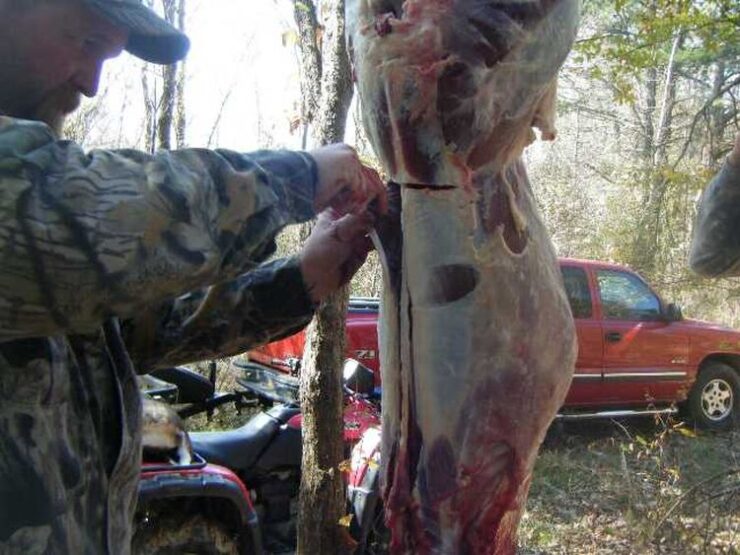
Now the skinning work begins. Starting at the top (hind legs) cut and pull the skin downward towards the ground. Some areas will be able to be pulled without cutting. Other areas will require some touching of the knife blade at the point where the skin is still connected to the deer. Grabbing the fur side of the hide gives you a stronger less slippery hold.
When your skinning reaches the tail don’t pull the hide off of the tail. Simply skin on both sides of the tail and then cut through the base of tail bone with a strong knife.
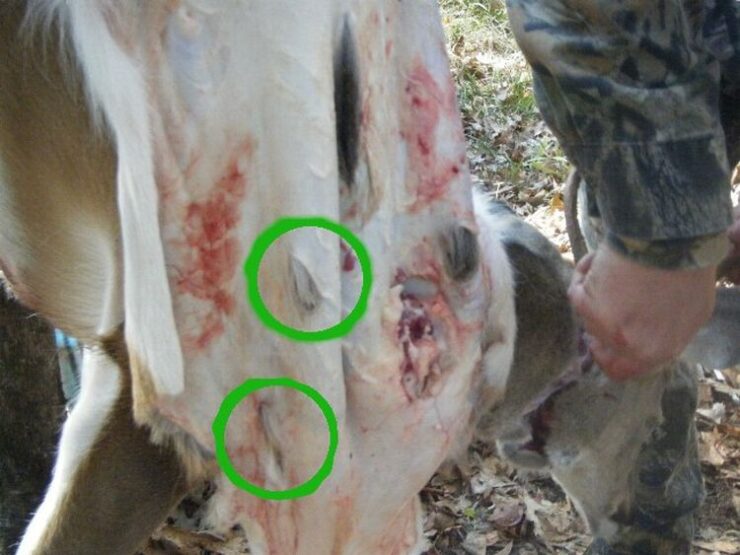
Once you have the hide down just past the hips you can poke holes in the hide and use the holes as a hand hold. This allows you to push downward instead of pulling. Much easier on the hands and allows you to put all your weight into it. Some hand holds are circled in green in the picture below.
Below is a series of pictures showing the skinning process.
Step 8
Cut of the front legs. Saw, butcher knife/ax works well.
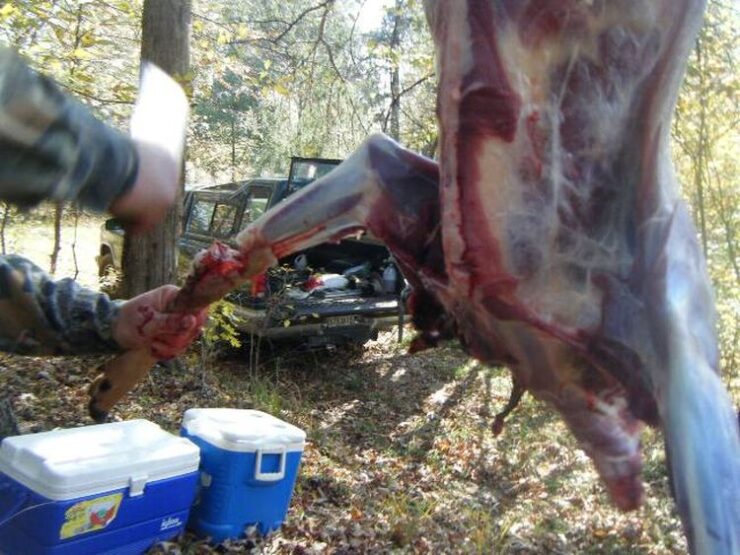
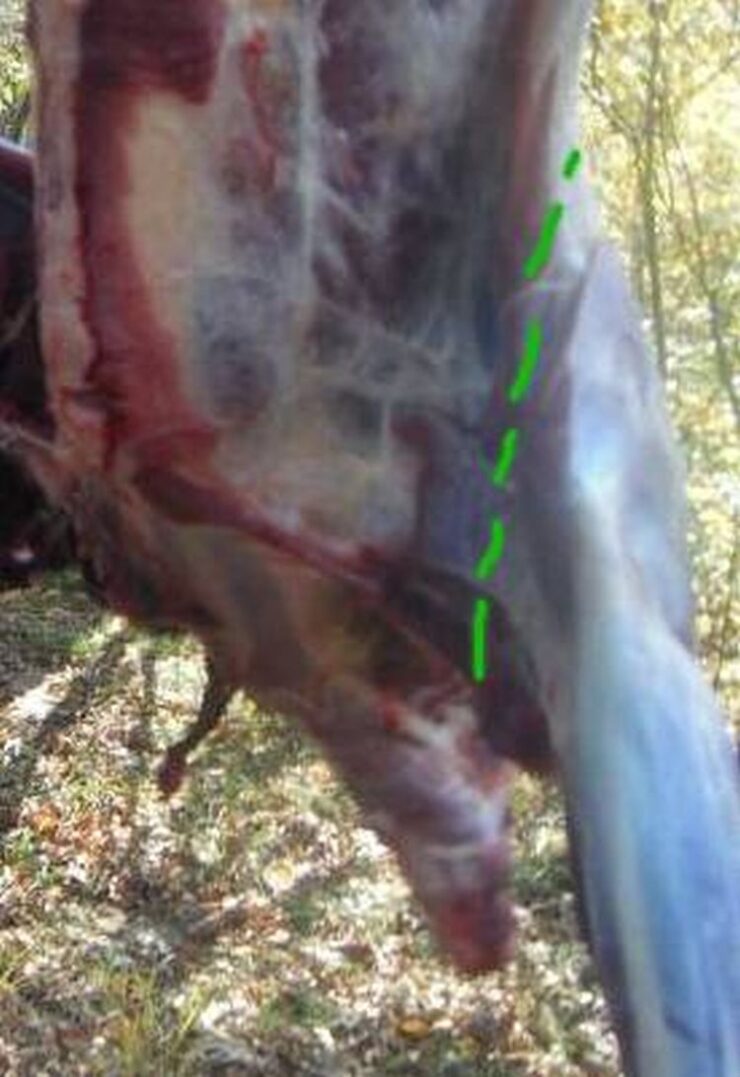
Step 9
While pulling outward make a cut along the green dotted line to remove the front shoulders. Place in an ice chest.
Step 10
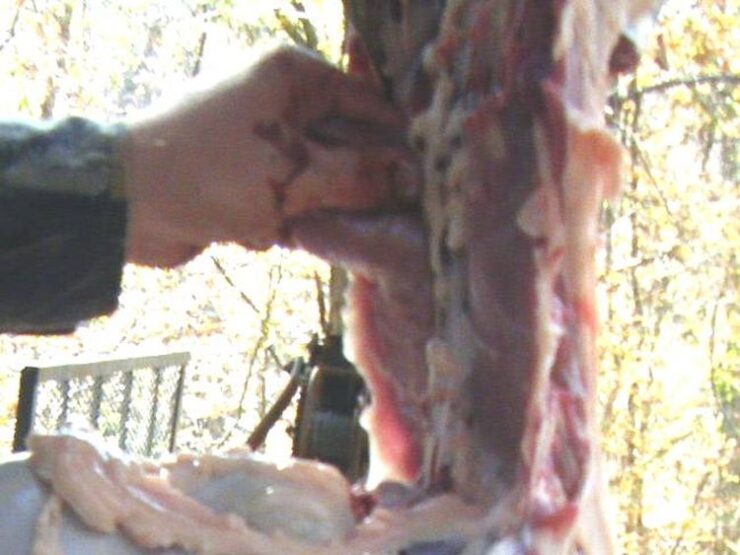
Remove the backstrap. Make a cut down each side of the spine. Then cut the muscle away by making a cut to sever it from the hips and work it off of the back by keeping the knife blade firmly against the bone at all times. Once the very top portion of the backstrap is free it can sometimes be pulled off of the deer with little effort or cutting. Put it in the icechest.
Neck has already been removed in this picture. Some steps can be done in different order.
Step 11
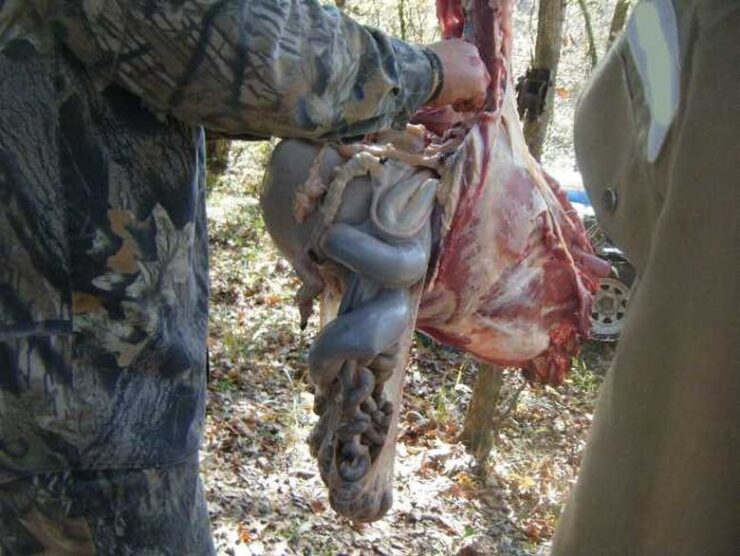
Remove the tenderloin.
Make a cut across the belly just below the genitalia on a buck but do not cut so deeply that you puncture any of the guts. This will give you access to the interior of the deers gut cavity. The tenderloin lies along the spine sandwiched between the spine and the guts. It isn’t a lot of meat but it is the best meat on the deer. Cut away fat and cut through the intestine that holds the deer pellets. Gravity should pull the guts down, away from the tenderlion and minimual cutting is required. Only the initial cut of the stomach muscle and some small cuts to detach guts and fat from the deers gut cavity wall are needed so that the guts can move downward with gravity.
Remove the neck.
Pretty simply really just cut the neck off. Hack away!!! After the neck is off, or before, cut the esophogus out and place the neck in the icechest.
Step 12
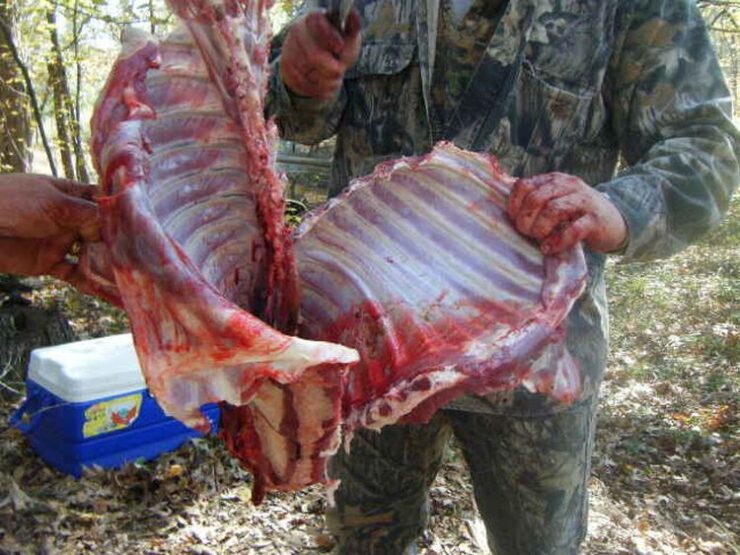
Remove the ribs. If you don’t want the ribs some of this can be skipped.
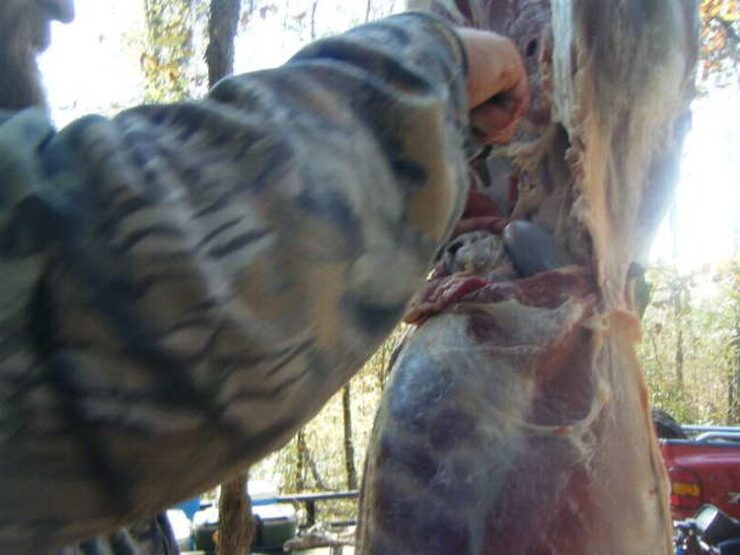
Whittle away at anything holding the guts, lungs, heart etc in the gut and chest cavity.
The rib cage will and the inner attachment between the lungs and guts will prevent everything from falling out into the gut bucket.
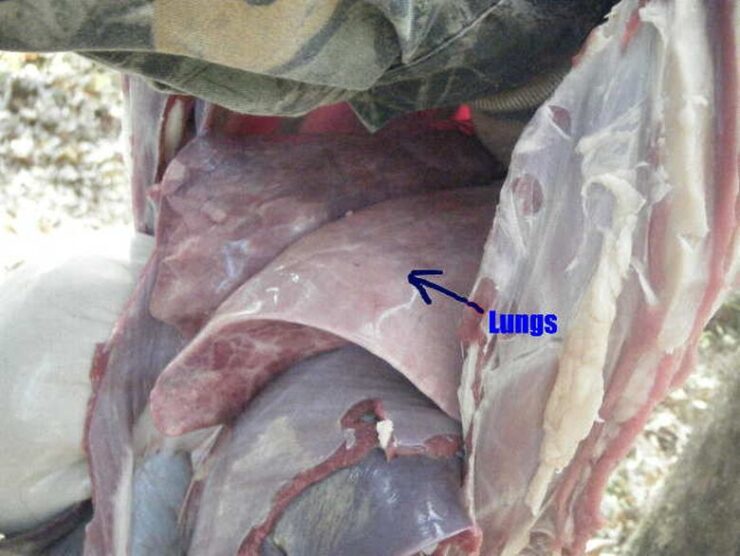
As shown above reach between the lungs and the chest cavity to cut esophagus and anything else holding the lungs and heart in. Drop everything into the gut bucket.
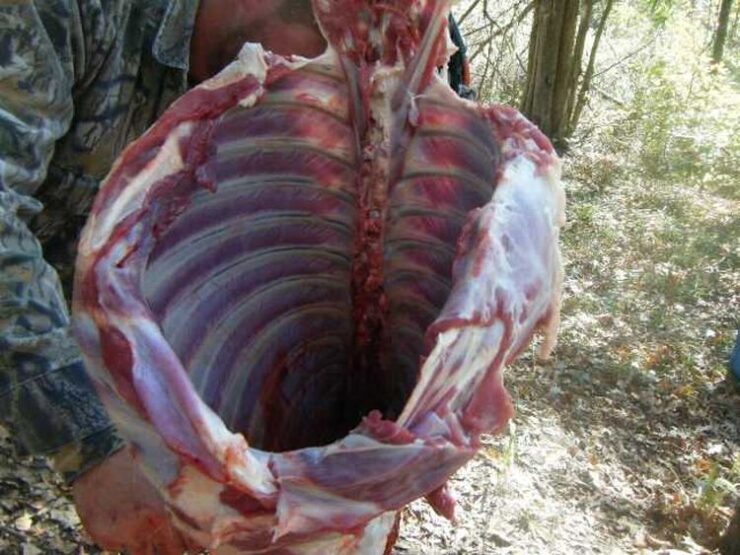
Pictured above. Ribs cage empty and clean looking, ready for next step.
Step 13
Ribs Continued.
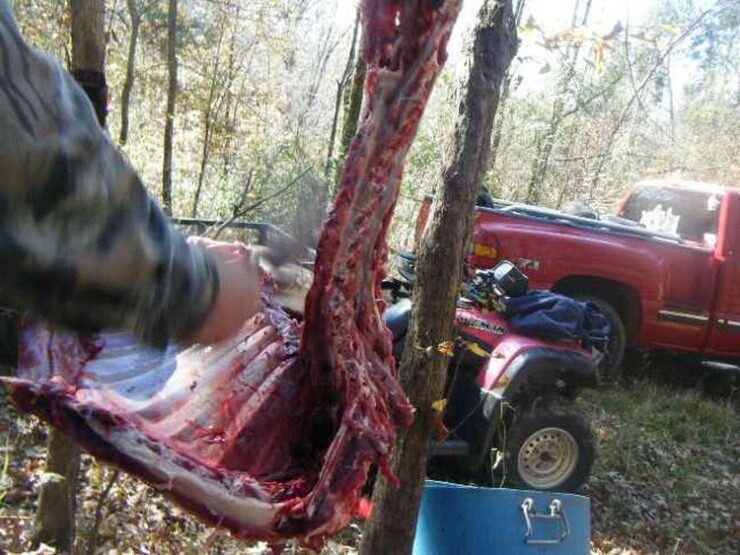
Take a butcher knife and wack the chest down the center/sternum to seperate each side as shown in the picture below.
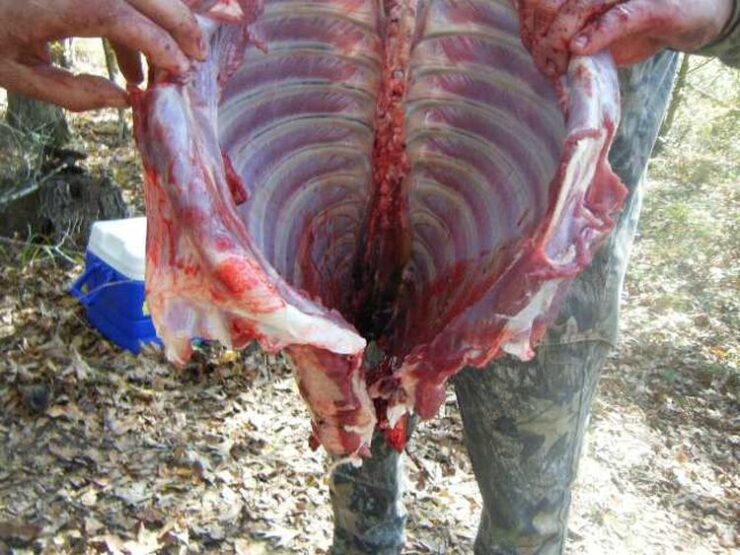
Next using the butcher knife cut the ribs away from the spine and sternum.
Place ribs in the icechest.
Step 14
Wack off the spine from the hind legs.

Step 15
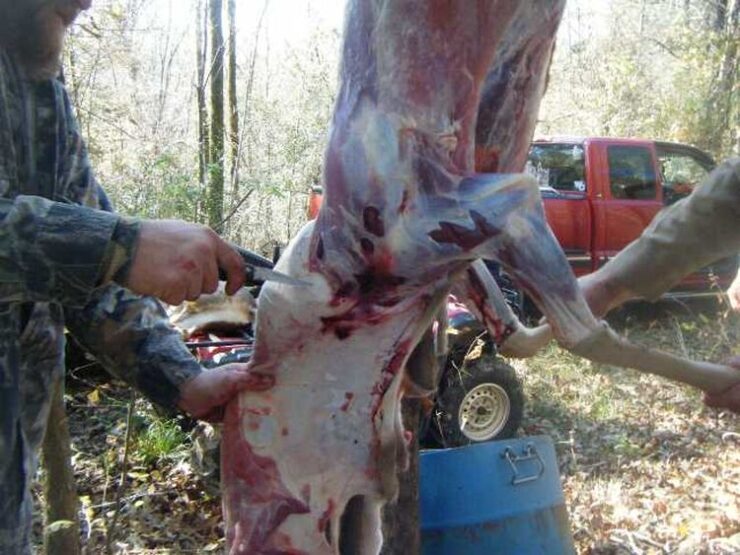
Getting the hind quarters!
This can be done easily with just a knife. Cut one tendon on one leg and allow the two hindquarters to hang by one leg. Cut between the two legs until you hit the pelvic bone.
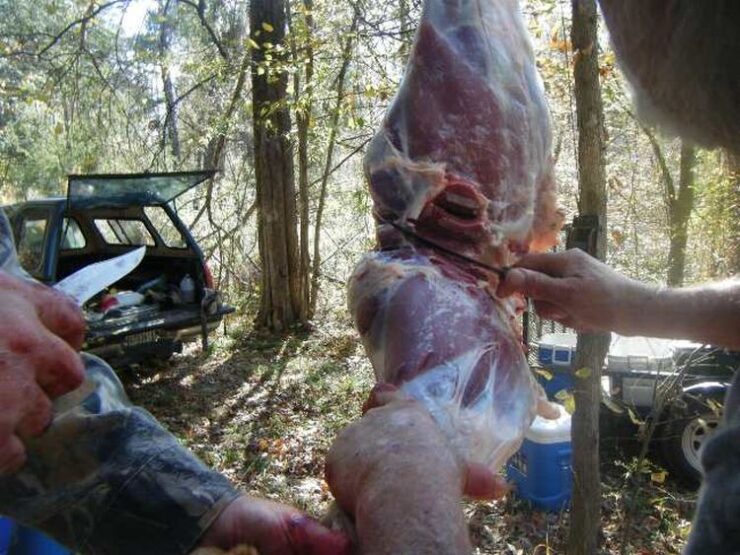
Cut deep into the deer along the lines that you can see in the picture below. You will have to cut it wavy as shown to cut around bone.
Pulling the bottom leg downward will spread the legs apart. From the underside (belly side) you will need to cut to ligaments that hold the femur to the hip. Just cut in to find the joint and put the knife blade in the socket and cut the ligamants. The leg will fall away so have a good grip on the lower leg and place it on a table. Now seperate the other hind quarter form the pelvis in the same fashion.
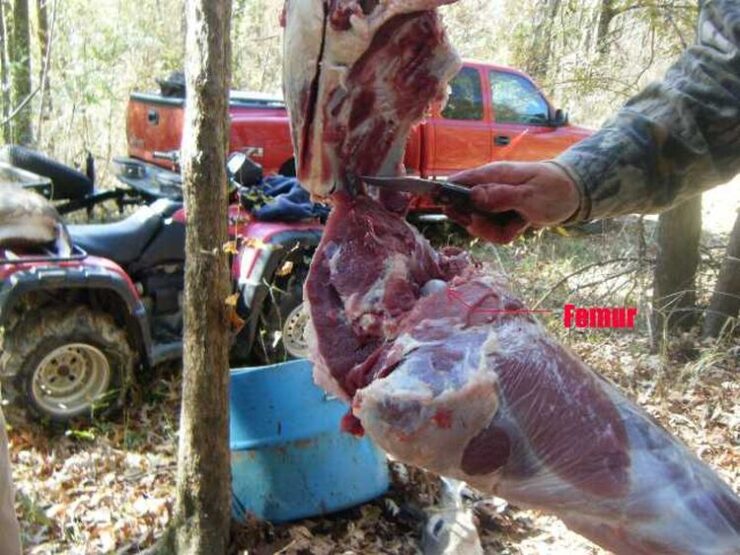
Removing the first hind quarter.
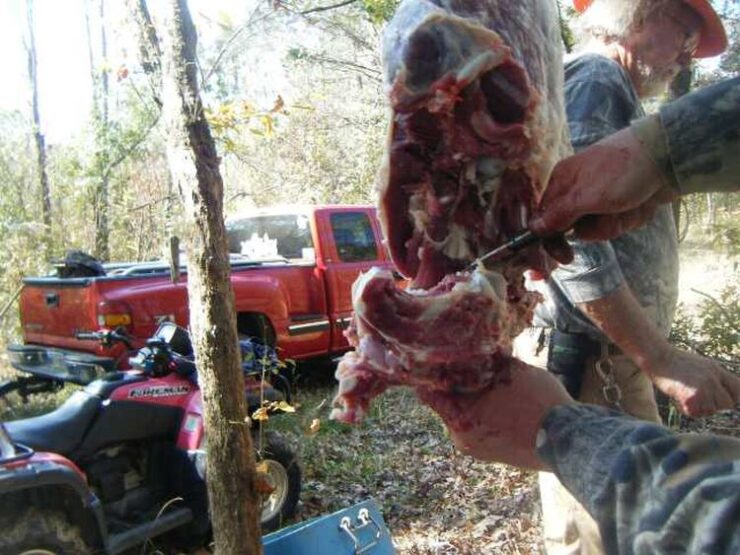
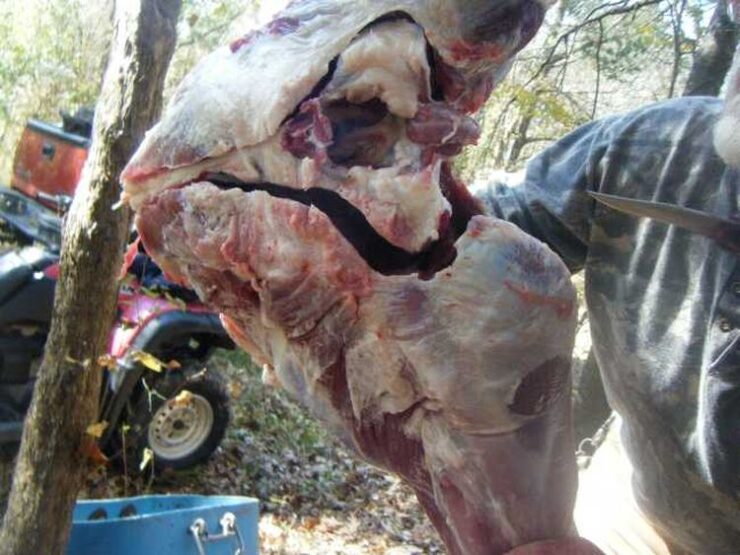
Removing the pelvis from the second hindquarter.
Step 16
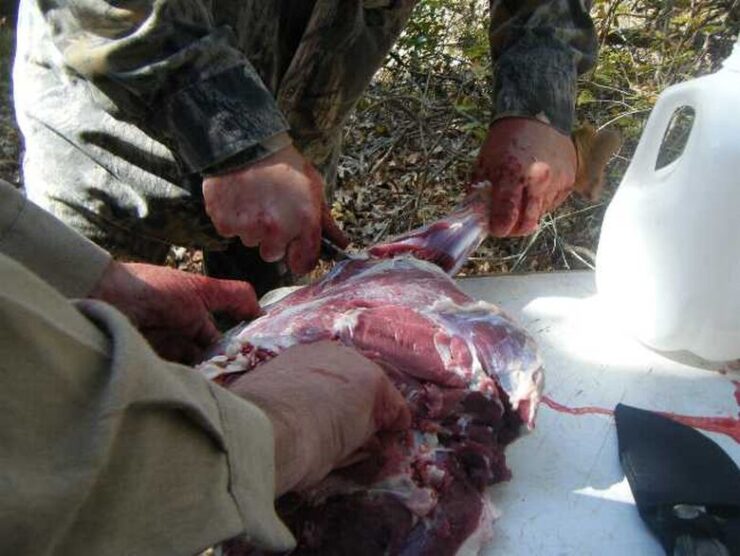
Seperate the hind quarter from lower leg.
This can be done with a saw, butcher knife, or even a knife.
Lay the hind quarter on a table.
Cut up towards the joint. Bend the leg back and forward to show where the joint is. Cut to and through the joint.
Now place the hindquarter in the icechest and you are done! Except for disposing of the contents in the gut bucket.
Ice the meat down and keep it in the ice chest for 3-7 days before butchering and packing the meat for the freezer. Drain and add ice as needed. The meat sitting in the water helps age the meat, draw out the blood and gives you time to butcher it at your leisure. It doesn’t have to be done all in one day which allows you too go slower, be more thorough and do a better job.